Adnams Copper House Dry Gin

Having started with a taste of the orient I thought the next review ought to be closer to home.  Step forward Copper House Dry Gin – a homegrown product from Suffolk, produced by renowned East Anglian brewer Adnams.  Given that their beer is delicious, they ought to know a thing or two about malted barley – the grain that is used as the base for their gin – so I thought I would give their gin a try.

As you already know, I like to start by tasting the neat gin and I make a point of not looking at the back label or the website for information about botanicals so that I can see what my tastebuds tell me and not be led by the marketing blurb.

So, what does the neat spirit have promise?  The nose is undoubtedly citrus.  Difficult to define exactly, but perhaps a mixture of orange and lemon.  There is also a floral note to it – though I couldn’t pretend to identify it any more precisely than that.  That citrus character is also carried through to the taste but the palate also brings out a definite flavour of spice – and slightly perfumed at that.

Now I allow myself to read what Adnams wants to tell me.  Apparently, there are 6 botanicals: Juniper berries (no surprise there as it is the main botanical in all gins and what makes it taste like gin!), orris root and coriander seeds (both frequently used in gin production), cardamom pod (that will account for the perfumed spice), sweet orange peel (almost all gins include at least one citrus flavour) and hibiscus flower.  The website says that the last one is “the least expected”.  No argument there!  No doubt that is the floral character on the nose that I couldn’t name – perhaps I just don’t know what hibiscus flowers smell like – other than ‘flowery’!

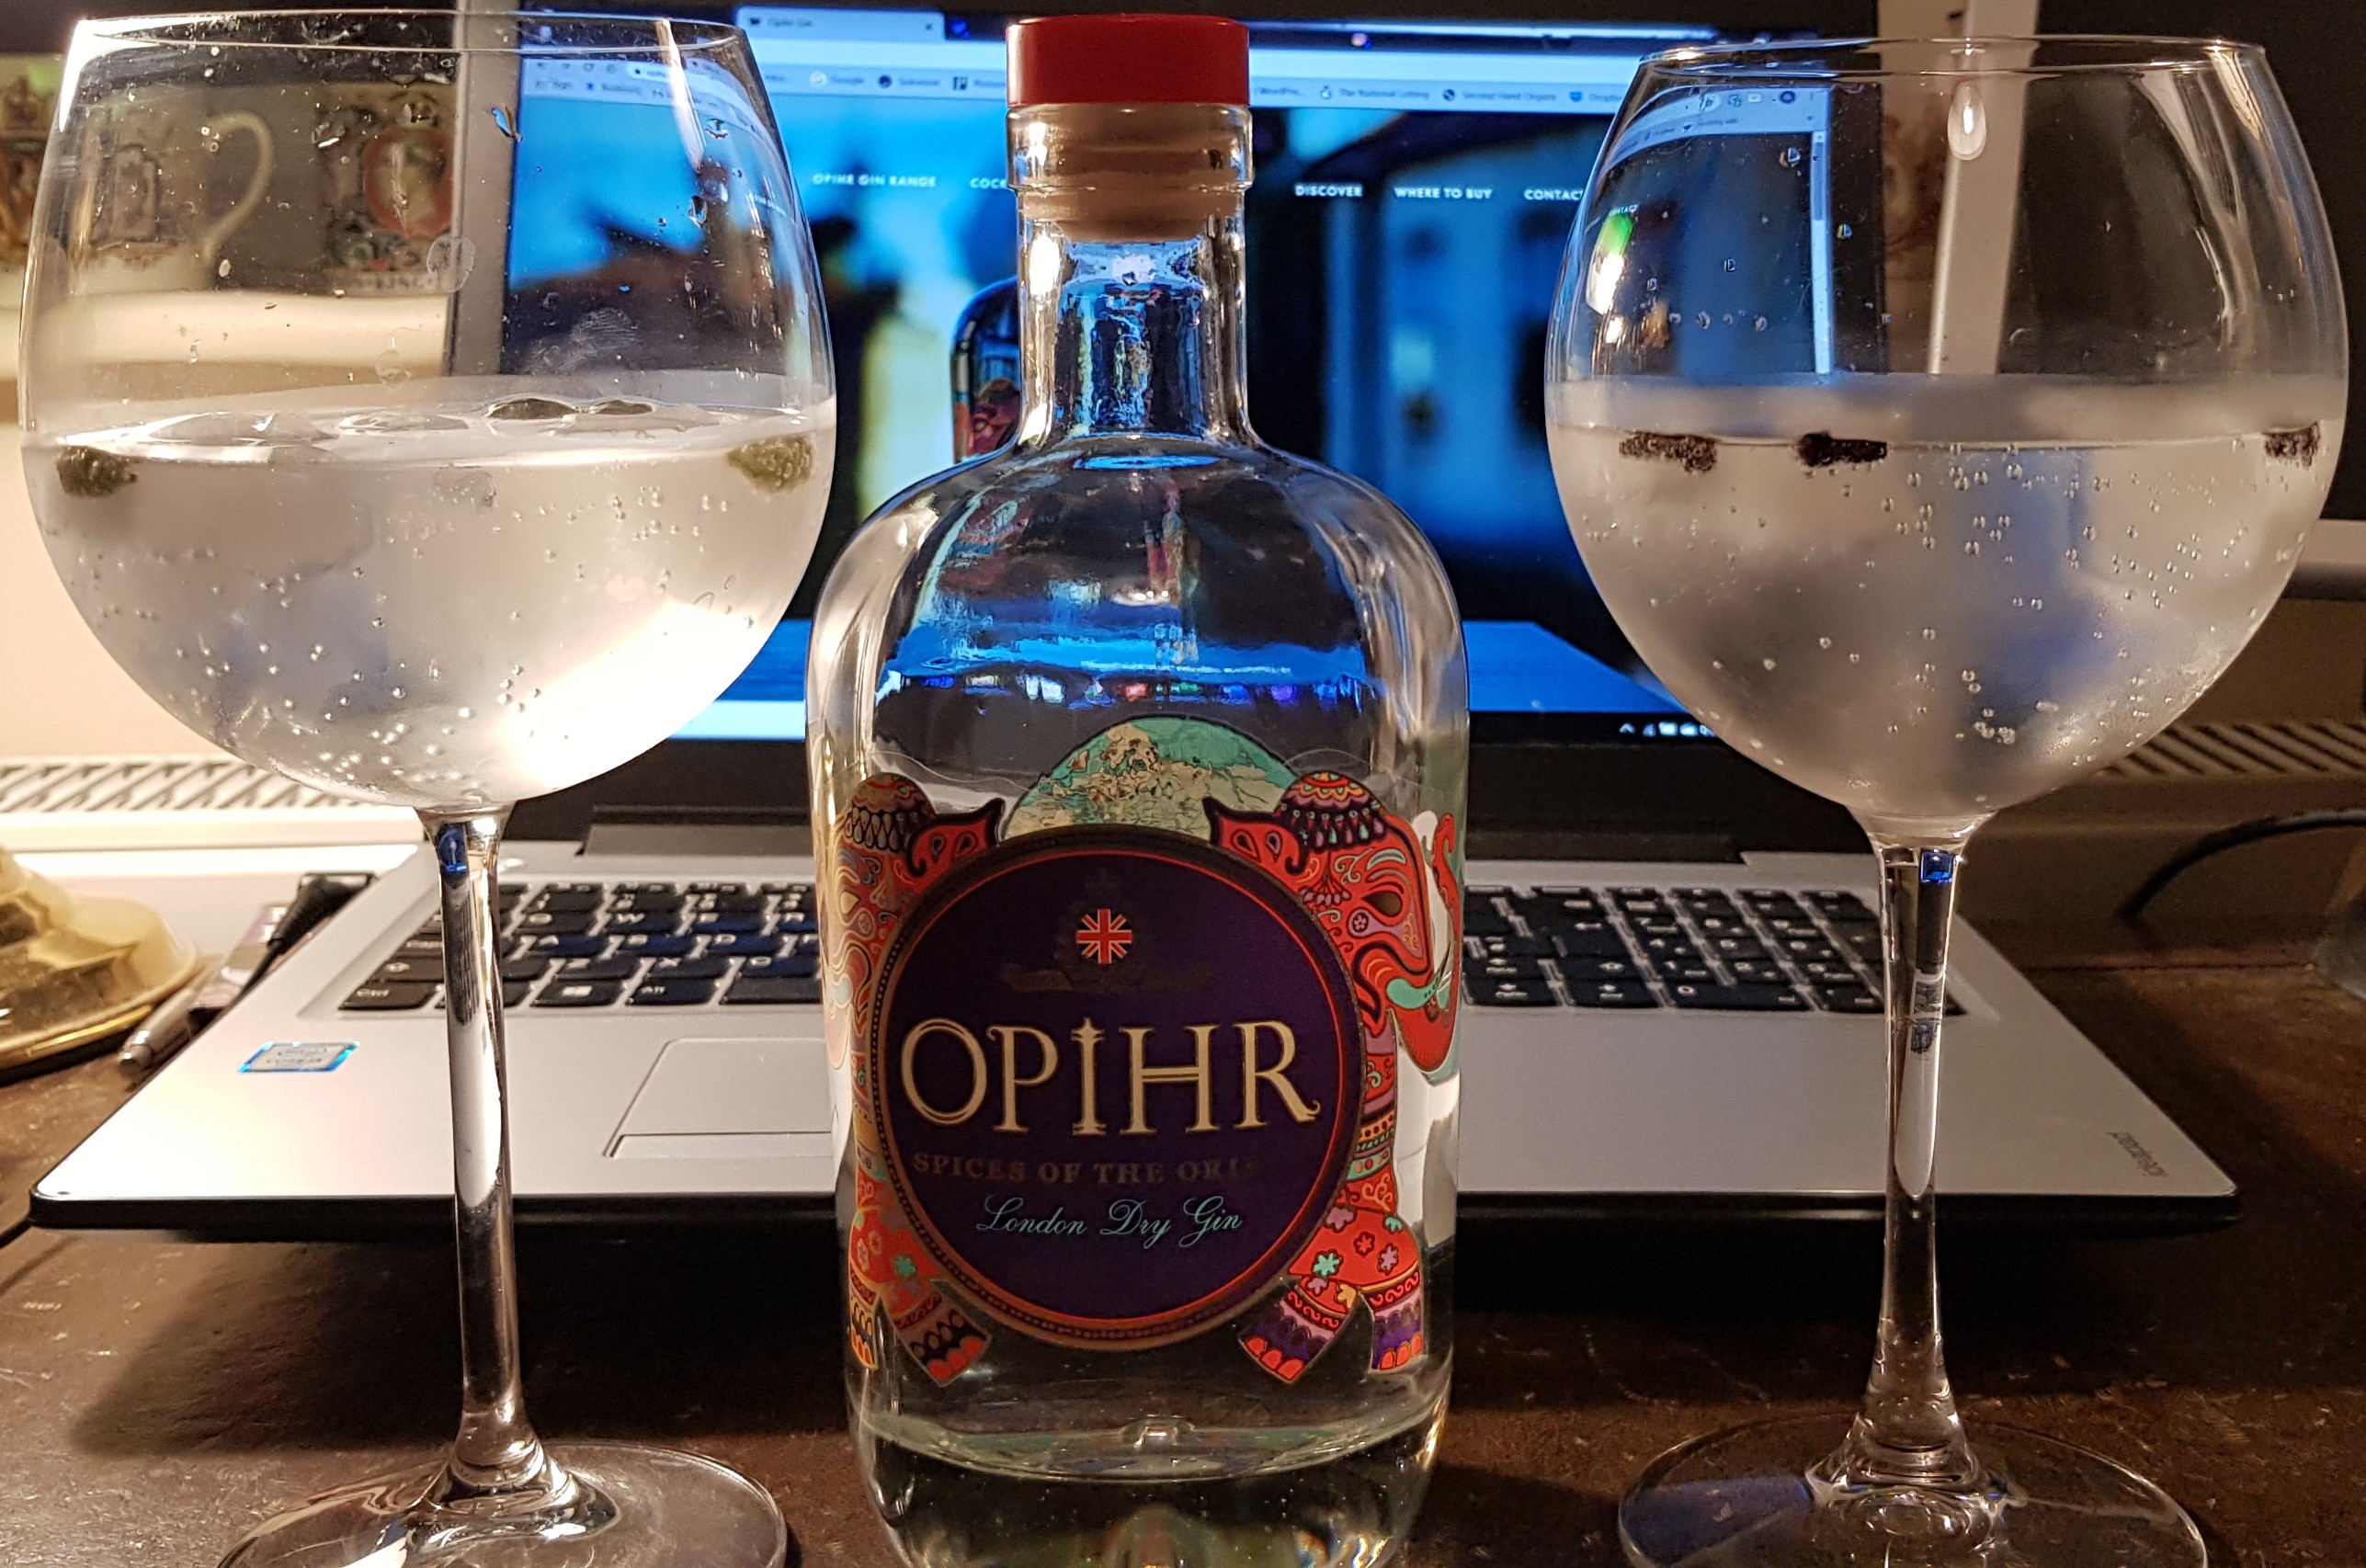
Time to turn it into a proper G&T and see how it tastes then:  The freshness from the citrus elements is still there (perhaps helped by the lime I used as a garnish) but the bitterness of the tonic water (Fevertree once again) really highlighted the perfumed spice.  Again, the cardamom is readily identifiable.

Some facts about the production: The grain is distilled first to produce the original spirit and then the 6 botanicals are added directly to this (ie the London dry gin method) before the whole lot is distilled again in a handmade copper pot still (which is, I guess, where the Copper House name comes from) to produce the final gin which is then brought up to bottling strength – in this case 40% ABV.  It was awarded World’s Best Gin at the International Wine and Spirit Competition though, admittedly, that was back in 2013.

All in all, this is a lovely, very refreshing gin – I think it’s that citrus punch that makes it taste so zingy and fresh, and has a flavour that is distinctive enough to be added to your list of “gins that are slightly different”.  I would certainly buy it again and suggest that you might like to give it a try.

If you do want to get hold of a bottle then you are probably going to have to search for it, and some outlets want to charge you nearly 40 quid!  The best prices I found online were at Waitrose (£26.99) and Master of Malt (£27.25).

If you do try it then please leave a comment to let me know what you think.

This is NOT a sponsored post and all opinions are my own.

Opihr gin review – a taste of the Orient

Opihr gin image

If I am going to review individual gins then I thought I would start with one that really is noticeably different – Opihr.  If you were at all doubtful that all these different gins on the market actually have individual tastes then this should absolutely convince you.  If you drink this and can’t discern any noticeable difference from what you have drunk before then your palate and tastebuds are officially dead and there really is no hope for you!

Opihr is a London Dry Gin (that’s a style of gin and not a geographical reference – more on that in a future post) with oriental spices.  Opihr now produce several variants, but this is a review of the ‘original’ offering (see picture above) which is also the one that you are most likely to find on the supermarket shelves.

For any gin, I do like to have a small taste (and I do mean small) neat.  This removes any influence of tonic or garnish and lets you get direct to the flavours in the gin – though I freely admit that some flavours are only brought out when the tonic and garnish are added.  Nevertheless, I find this a good place to start.  Well, just a quick sniff of the neat Opihr tells you that you are in for something very different.  The warm spices are immediately obvious on the nose.  In particular, cardamom and coriander leap out at you and when you take a swig (sorry, gentle sip) they are there in bucket loads on the palate as well.

Adding ice and tonic really wakes up these spice route flavours and instantly make this a gin and tonic like you have never tasted before – and I mean that in a very, VERY good way!  The blurb on the label (and the website) tells you Opihr (pronounced o-peer) was “a legendary region famed for its wealth and riches which prospered during the reign of King Solomon.”  The exact location of Opihr remains a mystery but it is believed to have been in the Orient along the ancient Spice Route.  The botanicals used in this gin include cubeb berries from Indonesia, black pepper from India and coriander from Morocco.  Well, in actual fact, none of those particular ingredients are that unusual in modern gin.  However, whether it is from where they are sourced, or the other botanicals mixed with them or the particular proportions I cannot say, but something makes this exotically spiced gin incredibly distinctive.

So, how do you bring out the best from this riotous carnival of spiced flavours?  Well, my two favourite garnishes with this gin are cardamom or cloves (though not together!).  If you are not sure you would recognise these flavours, cardamom (the glass on the left in the picture) is one of the main spices in pilau rice and if you have ever neglected to keep your eyes open and have ended up chewing on a whole cardamom pod buried in the rice from your favourite Indian restaurant then you will certainly have known about it!  It is like eating raw perfume and can stay with you for hours.  Fortunately, adding these pods to your G&T is perfectly safe because, whilst it flavours it beautifully, they are clearly visible so you are not likely to find one in your mouth without due warning.  Clove, on the other hand (right hand glass), you are most likely to have come across as the flavour in the bread sauce with your roast chicken or turkey.  If you can’t stand bread sauce, but weren’t sure why, best not go for the cloves!  If you don’t have either of these to hand then black peppercorns work well.  Failing that, dried juniper berries and/or a couple of wedges of lime go with pretty much any G&T and certainly won’t let you down here.

As cardamom is one of the botanicals used in this gin then adding some cardamom pods really brings that out.  Take three or four pods, lay them on a kitchen work surface, lay the flat side of a kitchen knife across them and give it a whack with the heel of your hand to crack the pods, thus exposing the seeds, and add them to your iced gin.  If using cloves (my absolute favourite for this gin), then just pop in four or five whole cloves.  Whatever you do, don’t use ground cloves.  That just leaves an unattractive dust on the surface which is unpleasant to drink and doesn’t even noticeably enhance the flavour! Either way, add a suitably bold flavoured tonic (I recommend original Fevertree Indian tonic water – that’s the yellow label) and enjoy.

This is NOT a sponsored post and all the opinions expressed are entirely my own.  However, if you want to find them in cyberspace then Opihr does, of course, have a presence on the usual social media platforms:

www.opihr.com

opihrgin  @OpihrGin Opihr Gin

    instagram icon             twitter icon            facebook icon


How to pour the perfect gin and tonic

There is no doubt about it…

…over the last few years there has been an absolute explosion in the gin market.  Those of us in the UK who started drinking gin in the ‘80s were more or less divided into two camps – Gordon’s or Beefeater.  Brands like Plymouth and Hendrick’s were rarely found outside of the smartest of cocktail bars and Tanqueray was preferred by those who wanted to appear exotic – though I am not  sure that they were ever fooling anyone but themselves.

Now there is an almost bewildering range of gins to be sampled.  There is one pub that I have been known to frequent that boasts no fewer than 30 gins!  This is an ordinary pub in a not very large town!

So, with all this choice, where do you start?  After all, a G&T is just gin….and….tonic.  Right?  Well, yes.  And no!  Not really.

You need to consider the glass.  The ice.  Then the gin and the tonic.  Then there is also the question of the garnish.  Get all of these constituents right and you will find that it really makes a difference.  G&T is always a pleasant drink, but just a little extra effort can transform it into something so much more.

Let’s start with the glass and the ice.  Temperature makes a huge difference to any drink.  Cold tea or coffee just doesn’t taste the same as a nice hot cuppa, does it?  Warm white wine or, worse still, champagne is barely even drinkable!  Gin is best drunk cold, so you need a generous helping of ice.  If you are worried about diluting your precious libation then bear in mind that more ice actually dilutes it less than too little.  I will explain.  The laws of physics are such that if you mix together two substances at different temperatures (ie the gin and the ice) in a closed environment (the glass) then they exchange heat with each other to try and even out what’s called the “temperature gradient”.  Put more simply, the two temperatures try and cancel each other out.  If you put one cube of ice into a glass full of room temperature liquid, then it will melt pretty rapidly without even having a noticeable cooling effect on the liquid.  Put in enough ice and it outweighs the warm liquid, thus chilling it.  Of course, now that the liquid is chilled it will melt the ice more slowly!  A tall, narrow glass will keep the ice cubes in close contact with each other, slowing down the melting process even more.

Now that you have a tall glass of ice cubes, pour in your gin.  I then add the garnish (a slice of lemon, a wedge of lime or something more exotic – depending on your gin) and finally the tonic.  Some people add the garnish last, but I prefer to put the garnish into the iced gin and swirl it round to release the flavours before topping up with the fizzy tonic.  Keep your tonic in the fridge if you can – I always do.  Some people keep their gin in the fridge too.  However, as I normally have four or five different bottles of gin on the go at any one time, I think there would be serious complaints from the  family if I took up that much space in the fridge!  Perhaps it’s time to think about a separate gin fridge (makes mental note for the future)!

Now you can sit back and enjoy your well deserved G&T.  Cheers!

Through the forthcoming posts on this blog I will endeavour to introduce you to some wonderful gins that you may not have tried before (such as those in the pic above) and also give you the confidence to stray from the beaten path and do your own thing, so do come back regularly to catch up on the latest reviews.

The End of a Long Relationship

I was shocked when I realised just how long it was since I posted on this blog.  Lots of reasons for that, which I won’t go into now, but it clearly needed something pretty major to bring me out of inactivity and get me posting again.  That major event, unfortunately, is the break up of a long relationship – in fact the longest relationship of my life to date, with the exception of my parents and siblings!

I knew it was coming really.  All the signs were there – the strain had been showing for months, but I pretended not to notice, even when it must have been glaringly obvious to everyone who saw us together.  But I am getting ahead of myself and should start right at the very beginning.

I remember our meeting, 41 years ago, as if it were yesterday.  It was an ordinary Saturday and I was strolling through Reading market, not looking for anything in particular.  The first glimpse was out of the corner of my eye and I couldn’t help but stop and stare.  My eyes beheld a vision of sleek, lithe, tanned suppleness that would have turned the head of any teenage boy.  I was shy in those days and lacking in confidence, but I was well and truly smitten.  I have often thought since then that you have no way of knowing that your newest acquaintance is about to become a long-term partner.

From then on we were inseparable and went everywhere together.  When I left college and went to work we were, of course, apart during the day, but I couldn’t wait to get home in the evening and for us to be reunited.  As my career progressed then I would arrange for us to be together on business trips all over Europe and beyond.  It was always a wrench having to be separated for the security checks which we inevitably had to pass through separately and it always felt like a miniature triumph and no small relief when we were reunited on the other side of the x-ray machines and could continue our journey together.

Over the years, things changed, of course.  We both did.  There were the inevitable stretch marks, but I silently told myself that those were my fault anyway.  The lithe suppleness had gone and the tan had become, it has to be said, rather mottled and uneven.  But then, I had aged too.  I was no longer the sleek, even skinny, teenager that I had been at our first meeting.  My waist – then barely 32” – was now a rather comfortable and well-fed 36”.  I hadn’t looked after myself the way I should have done and that is bound to put a strain on any relationship.  I blame myself entirely.  Our life together had changed.  What had for years seemed natural, a perfect fit, now seemed rather strained.  It was quite clear that, in places, it was all wearing a little thin.  I tried to ignore it, of course.  Told myself that things can’t possibly be exactly the same after four decades together.  I was fooling myself and (I suspect) no-one else.  It was a classic case of being in denial.  For the last few months the strain has been blindingly obvious and, towards the end at least, must have been equally obvious to outside observers, though I pretended to myself that they didn’t notice.

Now it is over.  Irreparably broken.  After 40 years together the constant strain has become too much until my long-suffering, loyal partner quite literally just SNAPPED!  Now I must come to terms with what has happened (especially my responsibility for it) and face the fact that it is time to buy a new belt!

Pork chops in a creamed leek sauce

030

This only takes half an hour (including preparation) so it’s quick enough for a weekday evening – but it’s delicious.  No need for acknowledgements this time as this one is all my own – but don’t let that put you off, at least until you’ve tried it.

Pour about a tablespoon of olive oil (I use garlic infused oil for a little extra flavour) into a large frying pan and heat until it is shimmering then place the pork chops in the oil and leave to brown for  8 to 10 minutes.  Turn the chops over and pour in a generous splosh of good quality calvados (I never measure this precisely), turn up the heat and after a few seconds tilt the pan and the calvados should ignite, giving this effect (watch your eyebrows!):

016

Shake the pan a little and then let the flames die down of their own accord and pour in about a third of a bottle of white wine – enough to almost, but not quite, cover the chops.  Once the liquid starts to bubble nicely turn the heat down, cover with a lid and then leave to simmer for about ten minutes until the pork is just about cooked through.

Remove the chops to a plate and place in a warm oven.  Add two walnut-sized knobs of butter and, when these have melted add a thinly sliced leek and allow to soften, stirring occasionally.  When the leek is just about cooked pour in a 300ml pot (approx half a pint) of double [heavy] cream.  Turn up the heat and keep stirring.  After a few minutes the creamy sauce will begin to thicken nicely – keep stirring and keep it at just about boiling point but don’t allow it to boil too fiercely.  The cream needs to be really fresh otherwise it will curdle or separate.

It’s ready to serve when the consistency looks like this:

028

Serve the chops with the vegetables of your choice and the sauce either poured over the meat, or served next to it – depending on your preference – and sprinkle over some chopped parsley or chives if you want to present it nicely.  I have to say that brussels sprouts go particularly well with this sauce.  I served this with a nice bottle of Gavi (see the wine page), which worked rather well.

Enjoy – and do let me know what you think.

031

Steamed Chocolate Pudding

Steamed chocolate pudding (2)

I do like to do the big Sunday lunch.  It’s almost the only meal of the week where we are all together and the children seem to love it (unless they’re just being polite).  It’s also the only meal of the week where we are likely to have a ‘proper’ pudding.  Usually it’s a fruit crumble of some description with the occasional treacle tart, sticky toffee pudding or spotted dick for a change.  Whatever it is, it’s always homemade because it’s become a matter of pride and honour that no packets are opened in the making of a Sunday lunch in the Seeman household!  This week I decided to try something different.  Something chocolatey.  I flicked through some recipe books and spotted a steamed chocolate pudding that didn’t look too difficult.

Now chocolate puddings can be notoriously dry, but not this one – probably because it has actual melted chocolate in it rather than just cocoa powder.  I must acknowledge that the original recipe came from Green & Black’s (www.greenandblacks.co.uk) – with just a couple of my own modifications.  Here are the details if you want to try it yourself:

Ingredients:

I have to confess that I always use ounces, but I have also given rough equivalents in grams.  Just remember to use either the ounces or the grams for ALL ingredients – don’t mix them.

6oz (150g) of dark chocolate (preferably 70% cocoa solids)

5oz (125g) of unsalted butter

5 oz (125g) caster sugar

7oz (175g) plain flour

10z (25g) of good quality cocoa powder

1 teaspoon of baking powder

2 pinches of cooking salt

2 eggs (I always use medium size free range)

2 tablespoons milk (I used semi-skimmed instead of full-fat and it worked perfectly)

You will also need three bowls (preferably two of them large) and a basin to sit over a pan of water.

Break the chocolate into pieces and put it in a basin sitting over a pan of simmering water, making sure that the basin isn’t touching the water.  You can also melt it in a microwave if you prefer.  Stir occasionally and, once melted, leave to cool until you can comfortably dip the end of your finger in it, but before it becomes solid again.

In one large bowl, sift together the flour, cocoa powder, baking powder and salt.

In the other large bowl cream together the butter and sugar until they are as light and fluffy as you can get them (an electric beater or mixer saves a lot of time and effort).

In the small bowl beat together the eggs and milk and then add these to the cooled melted chocolate and stir them together thoroughly.

Now, to the creamed butter and sugar add a little of the flour and cocoa mixture and beat it in thoroughly.  Now add a little of the chocolate and egg mixture and beat that in thoroughly.  Continue adding a little of the two mixtures alternately, beating thoroughly each time until you have incorporated everything into one bowl and it is perfectly mixed.  The mixture will become stiffer as you go, but should still mix easily.

Now take a pudding basin (about 1.5 pints or 1 litre should do) and grease it well with some butter (this makes it a LOT easier to turn out the finished pudding).  Put the pudding mixture into the basin, clearing as much out of the bowl as you possibly can – though it is very sticky.

Cover the top of the basin with a circle of baking parchment.  I then add a second sheet of baking parchment before covering the whole lot with aluminium foil and tying it securely with string just below the rim of the basin – if you can make a string handle too it will make it easier to lift out of the steamer when cooked.

Now steam for two hours (if you don’t have a steamer then stand it on an upturned saucer or shallow bowl in a large saucepan with water that doesn’t quite come up to the bottom of the basin) checking the water level from time to time and topping up with hot water from the kettle as necessary.

After two hours remove the basin from the steamer (this is where the handle is useful), remove the wrappings, place a serving plate face down on top of the basin and then turn the whole lot upside down and carefully remove the basin (a little shake first won’t go amiss) to leave the upturned pudding on the plate.

Delicious served with a good dollop of ice cream and some single cream poured over the top – when it looks like this:

choc pud, ice cream and cream

A glass of madeira goes with it perfectly!